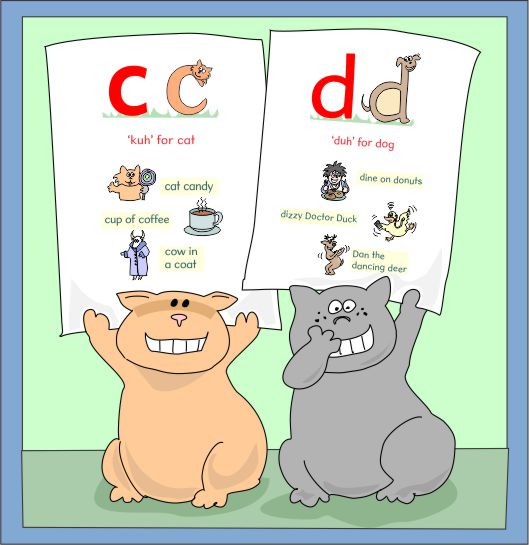
 Best Alphabet Cards Ever!
The letter-sound connection is important because alphabet training doesn't depend on just the visuals (the letter shapes). Alphabet training also depends on children's EARS -- their ability to pick out the individual letter-sounds in the ocean of our language.
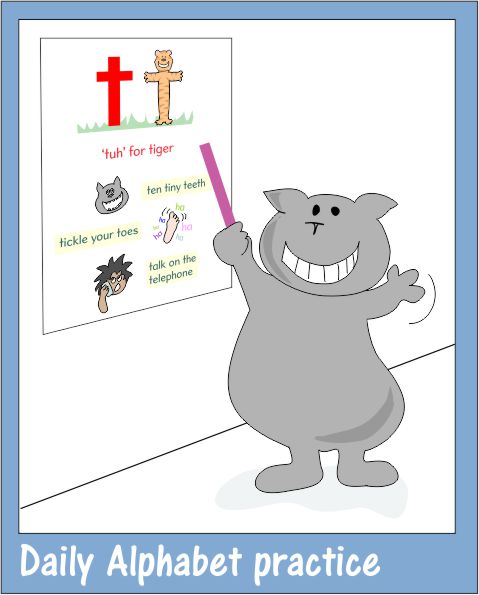
In learning the alphabet, children need to see the letters (and speak them aloud) over and over again.
To help this along, use flash cards (or tape cards to the wall) and spend a few minutes each day practicing the letters:
– Point to a letter and say the letter’s name and/or sound.
– Say ONE of the lines under the letter, for example,
“ten tiny teeth” is one of the lines for the letter ‘t’
– Then have your children/students repeat what you
just said. (This is NOT a silent exercise.)
On a different day, choose a different practice phrase. (Each letter has three different practice phrases.)
![]()
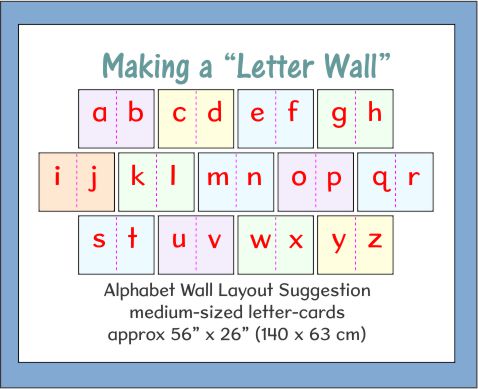
It helps to have a “Letter Wall” – a display of alphabet letters up on the wall. Children use it as a reference, and it’s very convenient for daily alphabet practice.
If space is limited, use the “Medium” letter cards (two letters per sheet of paper). Depending on how you lay it out, space requirements are about 56”x 26” (140 x 63 cm).
If you have a large classroom, use the “Large” letter cards (one letter per sheet of paper).
If you have no wall space, use the letter cards as flash cards (cards that you hold in your hand).
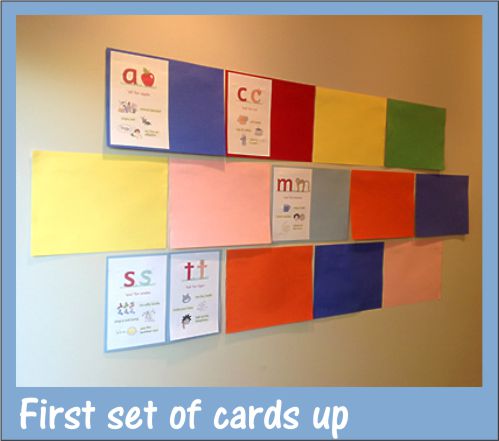
If your children have worked on the alphabet before, put ALL the letters on the wall. But if the alphabet is a new subject, or if your children are struggling with the alphabet, put up the letters one-by-one or in “sets.”
For example, with Alphabetti the system, you would start with the first letter set (c,a,t,s,m).
For Montessori schooling, you put up their first batch of letters – c,m,a,t (or s,m,t,a,p,f,c - or a different set, depending on the “brand” of Montessori you’re using).
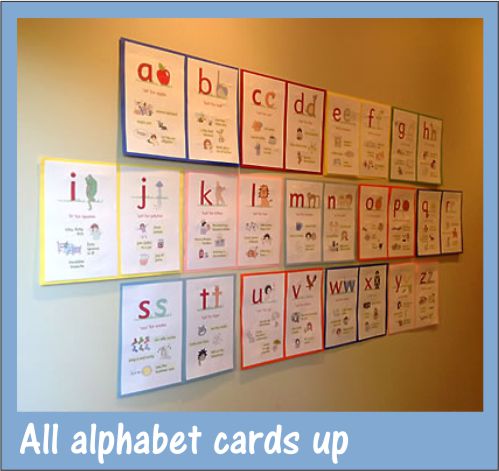
This makes it easy to practice the alphabet every day – the focus letters (and the letters you’ve already learned) are right there, and you don’t have to worry about which letters you haven't learned yet.
In the photographs to the left, I put thirteen sheets of 9x13” construction paper on the wall. Then I added the first set of letters (c,a,t,s,m). Then I added the rest of the alphabet.
Finished size was 61” x 28” (155x70 cm).
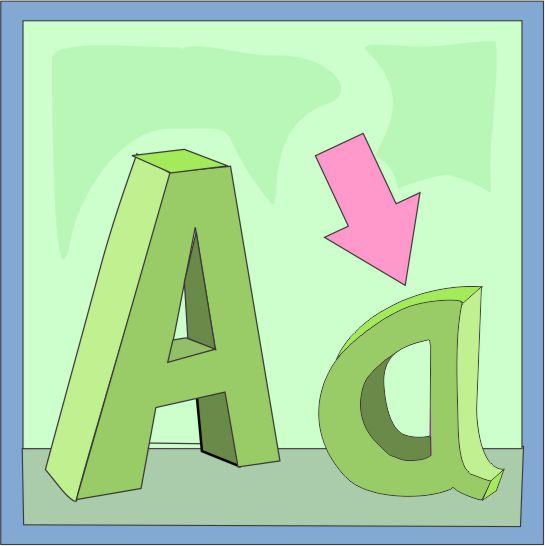 Lowercase first!
When children learn the alphabet, they naturally want to "apply" (use) their new-found knowledge and skills -- they are very proud of themselves! So they will scan books and all sorts of written materials around them to see if they can spot (see) the letters they're learning.
95% of all texts are written with lowercase letters, so children who learn lowercase first can spot/see waaaaay more letters. Even better, they are able to start following-along (reading the text) when teachers, parents and/or caregivers read stories to them.
I've never seen a children's book that was written in all-capitals, so for me, that's the "clincher" -- the deal breaker.
Please excuse me for jumping up and down on a soapbox, but if you want to limit your "teachable moments" to store-signs, advertising slogans and newspaper headlines, go ahead and teach capitals first. If you want to open the world of books to a child, go with lowercase first.
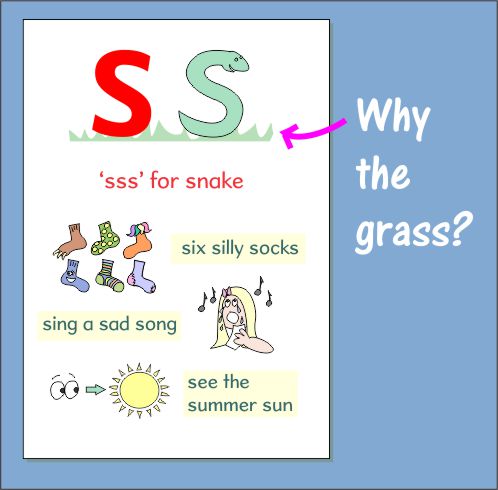 The "green grass" represents the base line (the line that all letters "sit" on).
In our handwriting booklets, we call this base line the "grass line" because it's easy to explain to children that "all letters sit on the grass." So, we use the same imagery in our alphabet cards to keep things consistent.
Good to know: Only five letters in the alphabet "drop" below the base line: g, j, p, q & y. The 26 capital letters and the remaining 21 lowercase letters ALL sit on the "grass" (the base line).
| File | Description | File size |
|---|---|---|
| 723 kB | ||
| 704 kB | ||
| 701 kB | ||
| 494 kB |